Brother Printer MFC-1815 Print Unable 0A
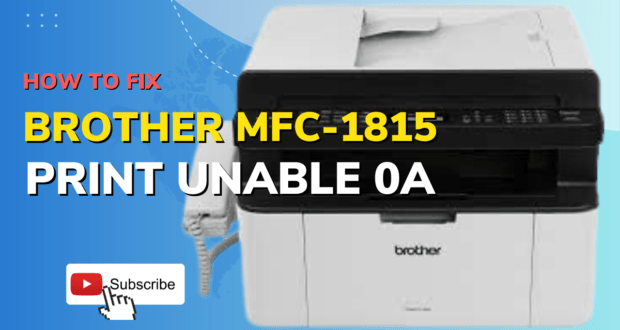
Today I am going to tell you how to fix Brother Printer MFC-1815 Print Unable 0A Error. This company has been very famous because of its printers. As we know in this era printers have become a very important need of us. They are a daily need of us. But there are also many problems in them. But today I am telling you how to fix Brother Printer MFC-1815 Print Unable Error. It is a very common problem in Brother Printers.
Related Models:
DCP-1512, DCP-1602, DCP-1612W, DCP-1617NW, DCP-8110DN, DCP-8112DN, DCP-8150DN, DCP-8152DN, DCP-8155DN, DCP-8157DN, DCP-L2520DW, DCP-L2540DW, FAX-2840, FAX-2940, HL-1110, HL-1112, HL-1200, HL-1202, HL-1212W, HL-5440D, HL-5450DN, HL-5452DN, HL-5470DW, HL-5470DWT, HL-5472DW, HL-5472DWT, HL-6180DW, HL-6180DWT, HL-6182DW, HL-6182DWT, HL-L2300D, HL-L2305W, HL-L2315DW, HL-L2320D, HL-L2340DW, HL-L2360DW, HL-L2380DW, MFC-1810, MFC-1815, MFC-1900, MFC-1905, MFC-7240, MFC-8510DN, MFC-8512DN, MFC-8710DW, MFC-8712DW, MFC-8810DW, MFC-8910DW, MFC-8912DW, MFC-8950DW, MFC-8950DWT, MFC-8952DW, MFC-8952DWT, MFC-L2680W, MFC-L2685DW, MFC-L2700DW, MFC-L2705DW, MFC-L2707DW, MFC-L2720DW, MFC-L2740DW.
Following are some solutions that will help you to fix your Brother printer.
Solution 1:
“Print Unable 0A” will appear on your machine’s display if there is a mechanical malfunction in the printer.
1. Press and hold the power key to turn the machine off.
2. Unplug the power cable from the back of the machine.
3. Wait 30 seconds. Plug the power cable back into the machine.
4. Press and hold the power key to turn the machine on.
– If your machine displays “Ready”, the issue is resolved.
– If the machine’s display still reads “Print Unable 0A”, go to the next solution.
Solution 2:
In this step, I am not responsible for any damage that will happen to the printer. It is important to take safety precautions while working with mechanical components or electronics. In this solution there are some steps that you need to follow:
- Unplug all the cables from the printer.
- Open up the front panel and the toner cartridge.
- Open up the back panel and locate the screw to remove the right side opening of the printer.
- Remove the screen and the right-side plate.
- Clean up the fan and the logic board if you find any dust or other material.
- If the fan is broken or jammed clear this problem first because when the fan stops the printer stop working so, it is important that the fan must be running so the printer can work properly. If you have to replace the fan do it because the printer will not work until there is a fan problem in it.
- After solving the fan problem reconnect the right-side plate carefully.
- Close the front and back panels and plug the printer back into the wall.
I hope this has helped you very much.
Next Post: hp Officejet 6700 premium missing or failed printhead
 Technical IT Solution Computer Hardware, Software and Printers Problem & Solutions. You can also download laptop bios bin and schematics without any cost.


